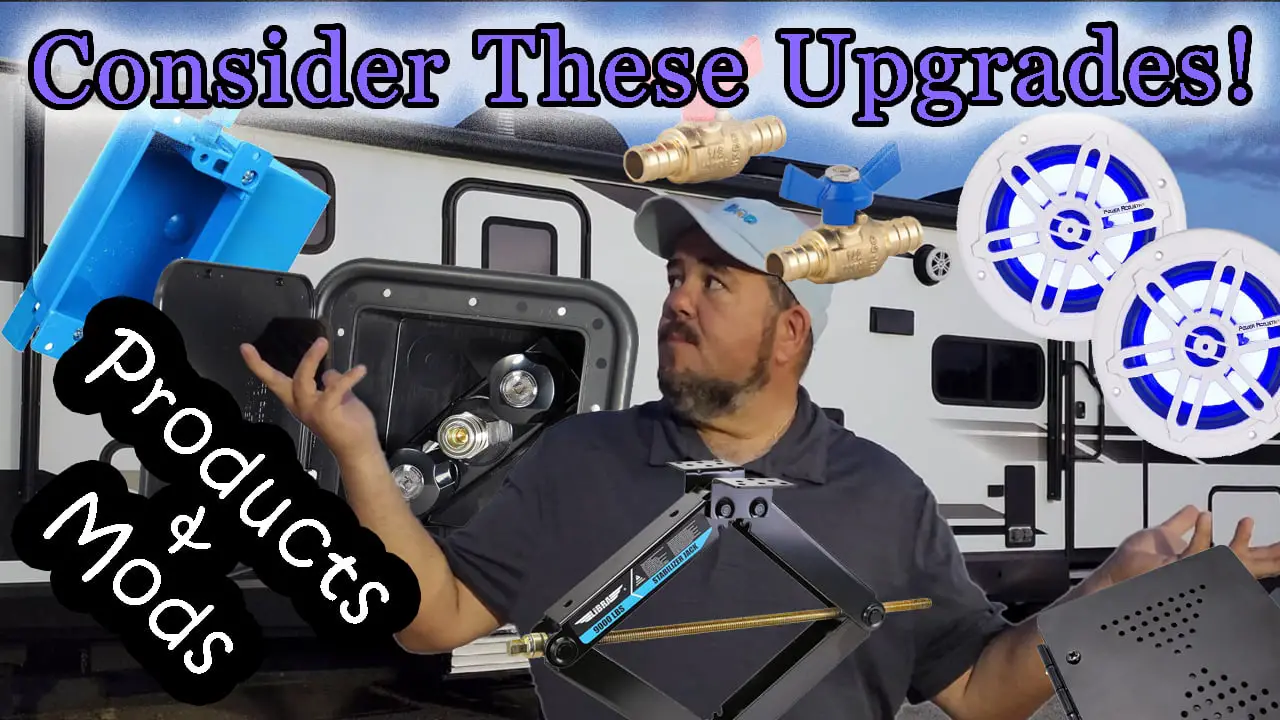
Archives August 2024

Camper mods to consider

Check out the video on YouTube.

(Impress Your Family and Friends!)

Today on Zen Family Projects I’ll walk you through the awesome modifications made to our 2019 Grand Design Imagine 2800 BH camper! Discover practical and easy upgrades, from installing a front jack cover and rotating the jack to fit our tailgate, to adding a coiled breakaway cable, new storage locks, and new beefier stabilizers. We’ve enhanced the exterior with new larger marine speakers, a super convenient outdoor shower port, bumper caps to keep our poo hose in line, quick low point drain valves, and ammo can storage. I also added some angle iron underneath to shore up the sagging chloroplast. Adding a set of backup cameras and TPMS sensors also increased visibility and safety. Inside, we’ve added night lights, pool noodle bumpers for the bunk beds, push bars to make the front door easier to access, window flaps to cut down on light pollution, upgraded outlets with USB ports built in, a new thermostat to control the HVAC system better, and an air conditioner baffle to increase AC performance and make it quieter.

Oh, and a dustbuster and towel holder. OMG!!

Future plans include installing Eternabond, a toolbox, and a unique anti-theft system. Perfect for DIY enthusiasts and camper owners! Don’t forget to like, subscribe, and hit the bell for more tips and projects!

Products used in this video:
Jack Cover: https://amzn.to/4fsxYIw
Breakaway Cable: https://amzn.to/4fuJUt5
Storage Locks: https://amzn.to/3WL26HO
Stabilizers: https://amzn.to/3WvHpyb
Speakers: https://amzn.to/3ybVyZk
Speaker Baffle: https://amzn.to/4dg9uAi
Screws: https://amzn.to/3ylfPvm
Sealant: https://amzn.to/3WKjY5z
Shower Port: https://amzn.to/3LOZsdy
Bumper Caps: https://amzn.to/3LOrc2e
Ammo Can: https://amzn.to/4d40f6A
Ammo Can Lock: https://amzn.to/4d0Vgn2
Coupler Pin: https://amzn.to/4fjgPRk
Low Point Valves: https://amzn.to/4ftwEou
Backup Cameras: https://amzn.to/3WHD78a
TPMS Sensors: https://amzn.to/4fou8QB
Door Handle: https://amzn.to/3A6ORIq
Window Shade: https://amzn.to/4dlJQKo
Night Light: https://amzn.to/4doyDZt
Pool Noodle: https://amzn.to/3WvI7vl
USB Electrical Outlet: https://amzn.to/3WJPzEg
Outlet Box: https://amzn.to/3WkJZGY
Thermostat: https://amzn.to/3Sqg3Ij
DustBuster: https://amzn.to/4dqt9NS
Towel Holder: https://amzn.to/4c5MiUs

As an Amazon Associate I earn from qualifying purchases. Buying from any Amazon links posted here will help out the Channel.

Introduction

Hey folks, Ed here! Welcome back to Bullnose Garage. Today, we’re stepping away from the Bullnose and working on my trusty 2007 Ford F-150. After years of faithful service, the headlights had become hazy and cloudy, making my truck look tired. But worry not! I’m here to show you a simple, effective, and budget-friendly way to restore those headlights using just sandpaper and 2K clear coat. Let’s dive in and give your vehicle’s headlights a fresh, new look!

What You’ll Need For Proper Headlight Restoration

Before we get started, here’s what you’ll need for this project:

  • 2K Clear CoatGet it here
  • SandpaperGet it here
  • Masking tape
  • Isopropyl alcohol
  • Clean cloths
  • Respirator (for safety)
  • Car wax (optional, but recommended)

Step-by-Step Guide

Step 1: Remove the Headlights

For this generation of F-150, the headlights are pretty easy to remove. Trust me, taking them off the truck makes this job a whole lot easier. So, start by popping those bad boys off and set them up on a stable work surface.

Step 2: Sanding the Headlights

The key to a great finish is in the prep work. Here’s how to do it:

  1. Start with 220 Grit Sandpaper:
    • This is pretty aggressive for a headlight, but it’ll help remove all the gunk and scratches.
    • Use a swirling motion to sand down the headlight, then switch to a horizontal motion to get rid of swirl marks.
  2. Move to 400 Grit Sandpaper:
    • Repeat the process: swirl, then horizontal.
  3. Then Use 600 Grit Sandpaper:
    • Again, swirl and then horizontal.
  4. Finish with 2000 Grit Sandpaper:
    • This will give you a super smooth surface ready for the clear coat.

Step 3: Clean and Mask

Once you’ve sanded the headlights to a smooth finish:

  • Clean them thoroughly with isopropyl alcohol to remove any dust and oils.
  • Mask off the areas around the headlights to avoid getting clear coat on your truck’s paint.

Step 4: Apply the 2K Clear Coat

Now for the magic touch! But first, safety first:

  • Wear a respirator when working with 2K clear coat. The stuff is potent and not great for your lungs.

To apply:

  1. Shake the can well.
  2. Apply the clear coat in light, even coats. Two to three coats should be sufficient.
  3. Allow each coat to dry for about 10 minutes before applying the next.

Step 5: Let It Cure

After applying the final coat, let the headlights cure for 24-48 hours. This waiting period ensures the clear coat hardens properly, giving you a durable finish.

Step 6: Optional – Wax the Headlights

To add an extra layer of protection and a bit more shine:

  1. Use any car wax you have on hand. I used Maguire’s Deep Crystal Carnauba Wax.
  2. Apply the wax to a clean cloth and spread it over the headlights.
  3. Let it sit for a bit, then buff it off.

The Final Product

And there you have it! Your headlights should now look almost brand new. Sure, you might see a bit of orange peel up close, but from a few feet away, they look fantastic. Plus, this clear coat should last the lifetime of your truck, keeping those headlights bright and clear.

Check Out My Other Projects

As an Amazon Associate, I earn from qualifying purchases. Buying from any Amazon links posted here will help out the Channel. Thank you!


With these simple steps, you’ll have your vehicle’s headlights looking great in no time. Plus, you’ll save a ton of money doing it yourself. Happy wrenching!