The goal today is simple: get this ’82 Bronco running. All I’ve got to do to make that happen is put a battery in here and, uh, fix these old worn-out posts hopefully. And to do that, I got some nice new toys that I’m going to show you guys. And, uh, I figure while I’m doing that with nice new toys, I may as well go ahead and update this one too, so the ’85 is also going to get new battery terminals. See how it goes. Let me, uh, show you what I got.
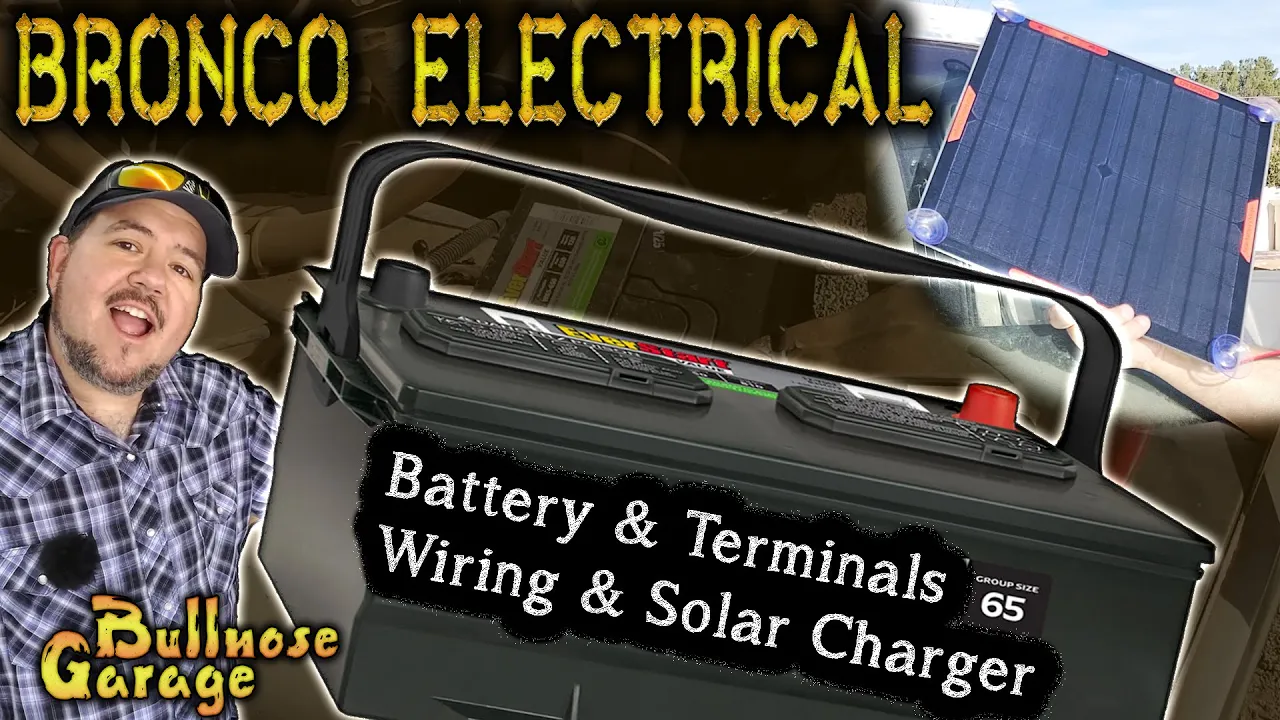
Hi folks, Ed here. Welcome back to Bullnose Garage. And on today’s episode of tools I absolutely do not need but absolutely have to have is, uh, some heavy-duty battery cable cutters and, uh, a battery cable crimp tool along with brand new battery posts and all the fun stuff to go along with all of that. This is the battery that I’m using. It’s a, uh, cheapest battery I can find. It’s a Walmart special, EverStart value brand, 650 cold cranking amps. Uh, it’s, uh, group size 65, which is what fits in the Bronco. Pretty simple. These are about as cheap as you can get. Uh, but really when it comes to car batteries, I mean, it depends on who you ask, but they’re all basically about the same. What you’re paying for is a warranty usually unless you go with something, um, like a higher tier of battery that you, you like, maybe Optima, though I’ve heard some bad things about Optima. Anyway, that’s off the topic. Um, so yeah, just a cheap Walmart battery’s got a one-year warranty. Um, and because I’m not going to be starting the Bronco very often, I also got this 20W, uh, solar panel, which is basically a trickle charge maintainer. Um, I actually have one in the ’85. It works a treat, so I’m going to put one in the Bronco to make sure that this thing doesn’t die on me next time I want to go start it. So, uh, yeah, go ahead and get started.
Hello. Now, first thing I want to do is get this battery mounted. We go like a glove, and we’re going to put on the first brand new nifty thingy that I got, which is this, uh, battery hold down. The old one was pretty well rotted away, so I actually had to cut it off. Uh, it’s not perfect. I’ll just go this way, that way, not to worry about the ridges. There we go. All right, guys, just had to, uh, cut the ends off of these real quick with a Dremel. That way they don’t stick up too far and, uh, bonk my hood when I’m doing this. So yeah, that’ll be about right. Uh, quick tip: if you’re ever cutting the ends off of these things with a Dremel, uh, screws like this, just make sure you got a nut on the inside of there when you do it. That way, when you’re done, you can thread the nut off the end, and that will help reshape the threads so that it’s easier to get your nut back on once you’ve, uh, done the trimming.
So now it’s time to do the wires. Now, in this truck, for some reason, the positive is a black wire, and the, uh, the negative, wherever that went, yeah, is also a black wire. So I’m not entirely sure why they’re both black, but they are. And you can know that this one here is the positive because it goes to the, uh, starter solenoid. And then, of course, the negative goes down to, uh, the frame and underneath, uh, down there. So, uh, yeah, I’m not sure why the positive on this one is a black wire, but hey, you know, it is what it is. Give me a nice fresh connection here. Not too bad. Man, that’s pretty, uh, corroded even down inside there. That’s all right. And we’ll do the same here. Now this one’s got a couple of wires on it that I’m going to have to deal with here, but I think I can take care of that. That, okay, where’s that wire go? What is that wire for? That wire goes into the cab through the firewall, so who knows what that’s for? I may just leave that unhooked and see what happens. No, now I’ll hook it up, but I’m going to hook it up different. I’m not going to hook it up the way this is hooked up. Man, that’s a red wire too, isn’t it? Why would that be a red wire? That annoys me they would use a red wire for this. Is that a red wire or am I seeing things? I don’t know.
So that was the cheapest cutters. Uh, this is the nice expensive cutters. I didn’t use these ’cause I wanted to see how the other ones work. These actually, uh, you can use these to strip the wires, so that is actually really nice, and that’s what I will be using these for. There we go. Man, that’s corroded. I may have to replace that whole wire. That’s rough. Of course, want something, you know. Okay, guys, so as corroded as that cable is, I’ve decided to go ahead and just replace the whole thing. It shouldn’t take very long. I’ve got all the bits and pieces, and I’ve got the cable. So this isn’t exactly the same stuff. I mean, obviously, it’s not going to be stock. Uh, this is audio cable. Well, it’s not audio cable, it’s power cable for audio amplifiers, but it’s 4 gauge, which should be enough. Now, um, I will probably upgrade to a gauge in the not too distant future for this, but, um, for what we’re doing today, just to get this thing started, I’ll go ahead and go with 4 gauge ’cause that’s what I have.
All right, let’s try out my fancy dancy new, uh, crimper here. Ooh, look at that. Never enough hands for everything that I want to do here. It’s on there now. Put that wire in there. All right, and that didn’t do jack. All right, and it’s hard to do this on camera. Did it go? Yep, seems like it went. What the hell? Well, that thing’s kind of garbage, man. That sucks. Sharp knife is just as good, if not better for that. Son of a—what the hell? Never enough hands. What a load of—how is that? This shouldn’t be this hard. I’m sorry I did the, uh, the crimping and the, uh, heat shrinking off camera because that crimping with wire this large is a real pain in the butt, and the heat shrink just happened to be in my garage. The, uh, heat shrink gun is in my garage, so I’ll bring it out here for the other cable. But for now, it was just easy to do it this way. Look at that, guy. Yeah, fancy, right? TIY, Lefty Lucy guy. Remember years ago when I first got my ’85, I was looking for a good set of battery terminals like these, and I couldn’t find a good set. These seem like they’re pretty good. Pretty good. Extra points if you know who I’m, uh, pretending to be there.
Okay, now I got to cut this puppy and do him. Okay, so here’s the thing, guys. Uh, let me start with this. I do not recommend this tool. Um, it’s kind of expensive. I thought it was kind of neat, um, but, uh, it doesn’t really work very well. It’s not super sharp, and it doesn’t, uh, strip very well. I’ve actually found that it’s easier just to use a good sharp knife and to cut around carefully so you don’t, you know, slice your thumb open. I mean, it’s not super precise, and there’s always the option to cut your finger off, but even with those considerations, it seems to work better than, uh, than that tool. So there we go. All right, now this crimper that I have here is also not really super great. It’s hard to use, and, um, it seems to like you have to kind of preload it a little bit to get the shape, and then you turn it around so that it crimps both sides evenly, and that’s just kind of the way that it is. Not a big fan of that, but we’ll see how it works with this guy right here. This, these wires are a little bit easier ’cause they’re not fine strands, and the verdict is not great. All right, yeah, that did it. Nothing is ever as easy as it should be.
All right, guys, well, my other camera died, so now here I am with my phone doing this. So wh—That’s what I was afraid of. Now with the fun part, we’re going to see if I release any of the magic blue smoke. I don’t see anything. Now it’s time to see if this thing will start. Okay, here we go. Fuel system’s next on the list, but before I get there, I want to get this electrical stuff figured out. So it does seem though like it turned over so well. Obviously, more than it seems like it’s turning over. It actually is turning over, so that’s a good sign. Well, with a successful test, it does run. Now I got to be careful with this because, like I said in my last video, there’s no coolant, so I can’t run it very long. Um, as a matter of fact, if I run out of gas out of that bottle there, that’s probably even too long to run this without cooling in it. But, um, obviously, like you saw, it does run, and now that there’s a, uh, good battery in here, I can start it up and move it around if I need to, and I can get some cooling in here and, uh, you know, take care of that. And obviously, got to take a look at the fuel system, see what’s going on with that. Uh, I don’t know why the fuel line is disconnected from the, uh, the tank. Um, I have no idea, so we’ll, uh, take a look at that and see what’s going on there.
All right, guys, the last thing I’m going to do today is put in this solar battery charger just to keep this battery that I just put in here in good shape. Um, I’ve had good luck with this particular brand. It’s, uh, OM. It looks like O-M-S. It’s an Amazon brand. I’ll throw a link in the comments to where I got it, but it’s the same one that I have in my other truck, and it’s kept that battery in really good shape over the course of the last year and a half, two years. Um, even when I haven’t driven the truck in, man, up to a month. Uh, so yeah, if you’ve got a project vehicle that, uh, you need to keep a battery in but you don’t drive very often, I definitely recommend something like this. They aren’t too expensive, and, uh, they’re just a really good way to make sure that your battery stays charged up and, uh, in good shape. In the case of this one, I’m just going to stick it in the back window here, which kind of faces south, and, uh, plug this into the cigarette lighter, and, uh, it should just go right to the battery. In these old trucks, the cigarette lighter did actually just go right to the battery all the time, so as long as this works, which hopefully it does, I guess we’ll find out. Let’s see what the battery charger says. Oh, it says charge. Wait, it said charging. Why? What’s going on there? It showed charging for a second, and then it stopped.
All right, so I just spent like, uh, five minutes fiddling with the plug inside here. The, uh, the, uh, cigarette lighter plug and, uh, oh, it just went off again. Wow, this thing is rough. The, uh, lighter plug in this thing is not good. Um, it’s really finicky. So, but I do have a light. So guys, to be fair, one of the things that I really like about this particular panel is that it’s got a little indicator light in the back that tells me when it’s in the sun, when it’s charging, and when the battery is fully charged. And that’s super nice to have so that you know, uh, like for me, I know exactly when it’s plugged in. I don’t have to get out my multimeter and check up at the battery or doing other weird stuff back in here with this. I just, I just know exactly when it’s working, so, uh, that’s really nice. So yeah, now that I got that figured out, it does appear to be charging. Um, I’m going to go ahead and, uh, pop this thing in the back window. Oh, well, that’s a good sign. Ooh, a cigarette butt. Well, that’s interesting. A no smoking sign and a cigarette butt. Use vehicles, guys. Got to love them.
All right, yeah, there you go. Blue means it’s in the sun, red means it’s charging, and actually the sun is over there, right? Well, hold on, and actually it’s not really in the sun very much. The sun’s over on this side of here, but it doesn’t take very much, so that’s great. And you can see my other truck, um, right there in the back window. Now, by now, this one, uh, I’m actually hanging it with, uh, some magnetic hooks because the, uh, suction cups are dead on it after a couple of years, and that typically happens. But yeah, it works out great too. See? And it actually says in the sun, so there’s enough sunshine to trickle charge. Um, this one here, it doesn’t say it’s not charged, but, uh, it’s going to be charged enough to start the truck. So there we go. And then I will do this one, uh, upgrade the terminals off camera. You guys don’t need to see that. You’ve, uh, already seen that once today, so same exact procedure on this side, just changing out the terminals. So, and actually this one should go easier ’cause I don’t really have to, uh, change out or redo any of these wires. I just have to put the new terminals on, so should be easy to go, should be easy to do, should be good to go. Yeah, you know what I mean.
All right, guys, that’s it for today. Short one, real easy, just swapping out a battery. There’s probably a thousand videos on YouTube. I’ll change your batteries. This is mine. If you guys have any questions, comments, gripes, internet ramblings, stickle below. If I did something stupid besides cutting my thumb, tell me in the comments what the heck I can take it. And as always, thanks again so much for watching, guys. We will see you next time. Tinker away, getting things to shine. No garage, she’s considered divine. Thanks again for watching. We will see you next time. Thanks again for watching. We will see you next time.