Show Transcript
Howdy folks, Ed here. Welcome back to Bullnose Garage. This obviously is not a Bullnose; this is my 2007 Ford F-150. It served me well for a lot of years. I’ve never had an issue with it, which is why I keep it around, and it’s basically my daily driver. But it is getting a little bit long in the tooth, and, uh, every now and then I like to spruce it up. Makes her feel better, makes me feel better, you know, and it’s good all around.
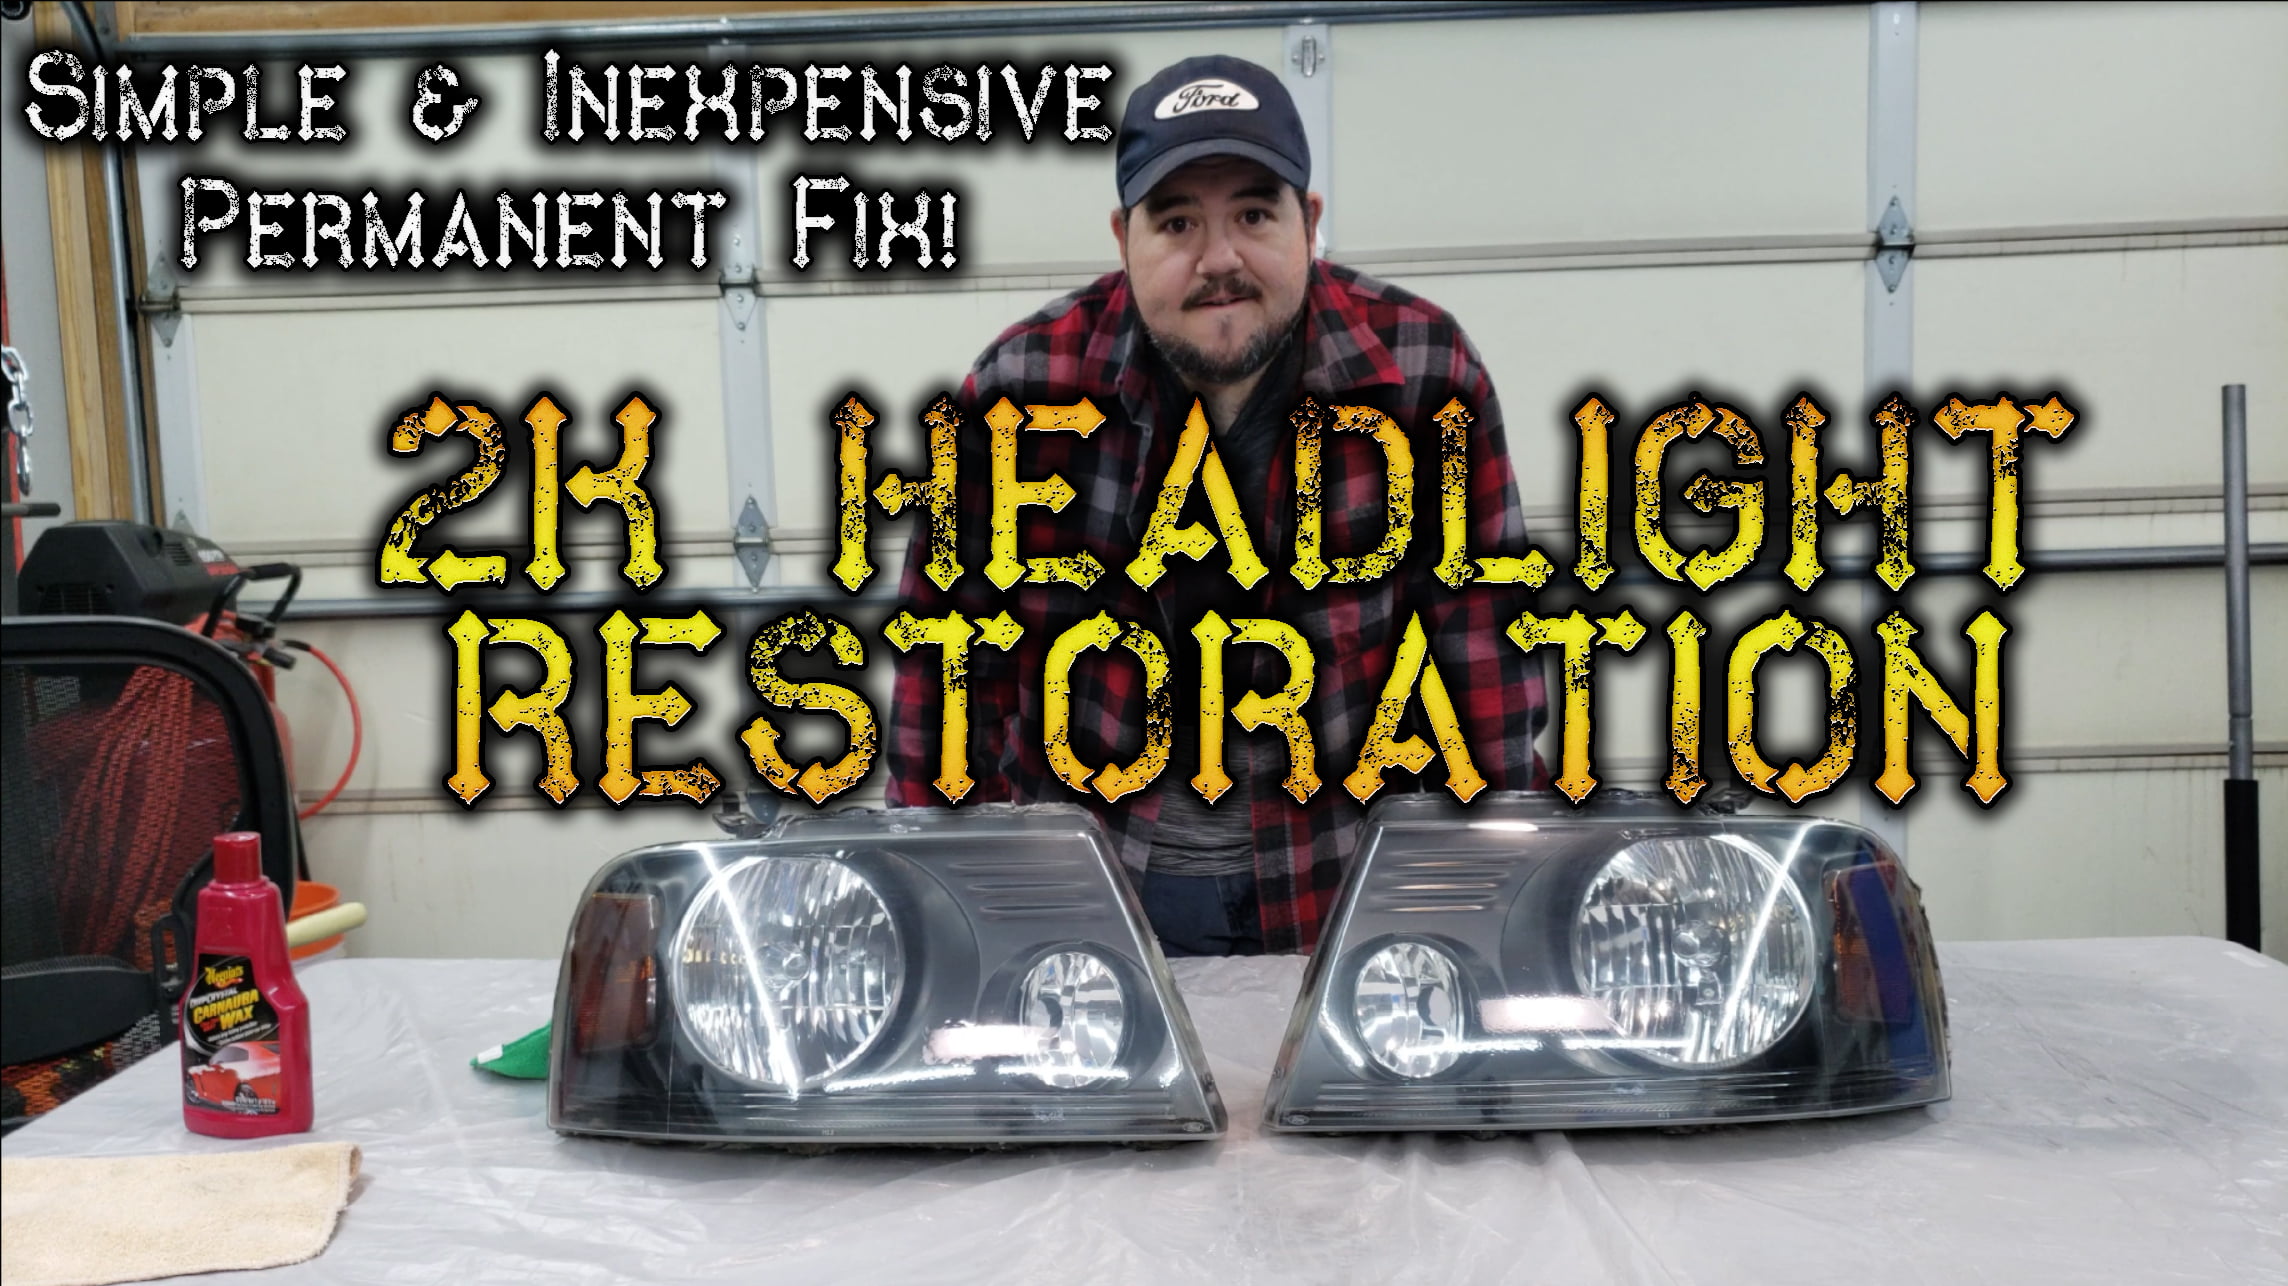
So today’s little bit of sprucing up is going to be fixing these old faded headlights. And I don’t know if you can see very well in the light of the setting sun, but, uh, this is pretty cloudy over here, and then this one over here is the same exact way. They’re pretty bad. So fixing that actually isn’t that hard. It takes just a little bit of sandpaper, some time, and some clear coat. And the clear coat that I’m going to be using is, uh, the good stuff. It’s SprayMax 2K clear. I actually have it left over from doing the wheels on my wife’s Explorer, so I figure, well, I got the can open and got some left, I may as well go ahead and, uh, use it on my headlights. And this stuff is, uh, the good stuff, so this should last the rest of the life of the truck. I should never have a problem with this yellowing or fading ever again once I get this done. And hey, you know, depending on how much, uh, orange peel there is at the end, I might even get a chance to use my new buffer, so that could be fun. Stick around!
Luckily for me, the headlights on an F-150 of this generation, generation, luckily, luckily for me, the headlights on this generation of F-150 are really easy to remove, and it’s going to be a whole lot easier doing this job with the headlights off the truck. So that’s what I’m going to do. As you can see, I’ve already done some work on both of these headlights. Unfortunately, I had some issues with my phone while I was filming the actual sanding down of these two, but, uh, even after doing a round of sanding, this one here is still a little bit junky down here at the bottom, so I am going to do some aggressive sanding down here to see if I can’t take care of some of this stuff. I’m going to use, uh, 220 grit, uh, to try to take out some of this stuff down here. Now, if I can’t get it, it’s not a big deal; it’s just this bottom part of the headlight, and the other one doesn’t really have as much of that problem. There is a little bit, uh, but the other one looks a little bit better. So like I said, I’m going to go start over basically with this one, and, uh, I’ll walk you through what I’m going to do.
So I’ve got all of my sandpaper already sort of, uh, cut up and ready to go. I’m going to start with 220 grit; that’s pretty aggressive for a headlight just to get, uh, a lot of this nastiness out of here. And then I’m going to move to 400 grit, and then I’m going to move to 600 grit, and then I’m going to move to 2,000 grit. At each level, I’ll be using water to make sure that, uh, I don’t put deep gouges or scratches inside the finish here. And, um, I’m going to start with a swirling motion because that’s the most aggressive to get, uh, all this stuff off of here. And then once the swirling motion has been laid in and I’ve got as much of this off as I think I can get, then I’ll do a horizontal sand like this to get rid of the swirl marks and make everything look nice and uniform. That’ll make the, uh, clear coat sort of get in there easier and make it look a little bit nicer with the clear coats on.
So again, the way we’re going to do this is we’re going to start with 220. I’m going to do swirls, then I’m going to do back and forth, and then we’re going to do 400, same thing, swirls, back and forth, and then 600, swirls, back and forth, and then 2,000, swirls, back and forth. And when we’re done, hopefully this will look about like this, except some of this crap down here will be gone. But we’ll see. I’m not sure I can get all this out of here, but we’re going to try it again. Yeah, it looks to me like I got some of that garbage off of there. Looks much better than it did. So I think we’re ready to mask and, uh, clean them up with some isopropyl alcohol and then clear coat.
While we’re waiting for these to dry, I just want to make a note. If you watched the episode where I painted the rims on my wife’s Explorer, then you’ve already heard me say this, but, uh, I’ll say it again here for those of you that didn’t. You always want to make sure that you’re going to wear a respirator when you’re working with a clear like this 2K clear. This is actually, um, a two-part clear coat. It is just like the stuff that you would use in a spray booth, uh, spraying a car, except that it’s in a rattle can. So, um, the catalyst in there can be pretty rough, so you want to make sure that you’re well ventilated and that you use a respirator. A lot of times I don’t wear respirators when I’m spray painting, but with this stuff, I always do. So, word of the wise.
Here we go, guys, the final product, and I gotta tell you, I am super, super impressed. I, uh, I thought maybe I was going to have to sand and do some buffing or, you know, wet sanding or something to get rid of the orange peel on this, and there is a little bit; you can see it, um, you know, if I move it around. I’m not sure how the lights reflecting back to the camera, but, um, you can see just a little bit of orange peeling there. But man, you know, I don’t think it’s enough for me to have to worry about wet sanding and buffing and going through that whole thing, so I think I am just going to leave these the way that they are. Uh, there’s a couple of little spots in here where I can feel, uh, contaminant got in; that’s probably just dust in the air from my garage. It’s not a super clean garage, so, um, but that’s fine. They certainly look a whole lot better than they did, uh, practically brand new. And you know this stuff is going to last a good long time, so, uh, I’m super happy with that.
The next thing we’re going to do before we put these back on the truck is just give them a real quick wax. Uh, I mean, it’s clear coat, so we’re going to wax it just like you’d wax your vehicle’s paint job. So pretty much any kind of car wax will work for this. I just happen to be using Meguiar’s Deep Crystal Carnauba Wax, but, uh, pretty much anything that you can pick up from, you know, auto parts store or even Walmart would work for this. If you’ve never waxed a vehicle before, it’s h pretty simple. Just make sure that you shake the wax up real good if it’s liquid wax. Oh, love the smell of carnauba wax in the morning. Put your wax on a clean cloth; you’re not going to do very much for this. They just, uh, just headlights, and then, uh, just wipe it on.
All right, and then we’ll set this one off to the side to dry, then do our next one. Once you’ve got your wax on, you just want to let it sit for a little while so it can dry. Uh, how long it takes is going to depend on the temperature, but you’ll know that it’s dry because you’ll see a hazy sort of film on there that, uh, looks a little bit dry, like dry wax. Dumbass. All right, try again. Once you’ve got your wax on there, you just want to give it the time. Give it the time. Once you’ve got your wax on, just give it a little bit of time to dry, and then once it’s dry, just wipe it off, and you’re good to go. All waxed up. The wax just serves as an extra protective coating just like it would on the clear coat on the rest of your vehicle, uh, to try to get this stuff to last as long as possible. And whenever I wash the vehicle and wax the vehicle, I will make sure to wash and wax these headlights now, uh, just like they’re a regular part of the paint because basically with a clear coat on them, they are.
Oh, here we have the final product, and I got to say I’m pretty happy with that. All it took was just a little bit of prep work, some sanding, a little bit of clear coat, and about 24 to 48 hours of cure time, and just a little bit of wax. And here we have basically what looks like brand new headlights. And now when you get real close, you can see the orange peel, but from just a little ways away, you really can’t see it at all. And no matter what, it looks way better than it did, and it’s going to last a good long time. So as always, if you have any questions, comments, concerns, gripes, internet ramblings, stick them below. Thanks again for watching, guys. We will see you next time.
Hey folks, Ed here. Welcome back to the Bullnose Garage, where today we’re taking a break from the Bullnose itself to give my trusty 2007 Ford F-150 a little TLC. The ol’ girl has served me well over the years, but her headlights? Let’s just say they were looking a bit more like frosted glass than clear lenses. So, in today’s adventure, we’re diving into headlight restoration using some good old 2K clear coat.
The Problem: Faded, Foggy Headlights
If you’ve ever had a vehicle for more than a few years, you know the drill: headlight lenses get foggy, scratched, and just plain ugly. My F-150’s headlights were no exception. They were cloudy enough to make me wonder if they were auditioning for a fog machine gig. It’s time to restore their former glory.
The Solution: Sandpaper and 2K Clear Coat
Forget those headlight restoration kits that promise the moon but deliver a dusty asteroid. What you really need is some sandpaper, a can of 2K clear coat, and a bit of elbow grease. The clear coat I’m using is SprayMax 2K, the same stuff I used on the wheels of my wife’s Explorer. It’s top-notch and should keep these headlights clear for the rest of the truck’s life.
Step-by-Step Restoration
1. Headlight Removal: Removing the headlights from my F-150 was surprisingly easy. It’s a whole lot simpler to work on them off the truck. If only everything in life could be this straightforward!
2. Sanding Process: I started with some aggressive 220 grit sandpaper to tackle the worst of the fog. Once the heavy lifting was done, I moved through 400 grit, 600 grit, and finally 2,000 grit to smooth everything out. Water is your friend here—it helps prevent deep scratches.
3. Clear Coat Application: After cleaning the sanded lenses with isopropyl alcohol, it was time for the clear coat. Word to the wise: wear a respirator. This stuff isn’t your average spray paint—it’s a two-part clear coat, and safety isn’t optional here.
The Results: Almost Like New
After the clear coat dried and cured (give it 24 to 48 hours), it was time for some car wax. Waxing isn’t just for the body of the car; it’s a great way to add extra protection to the headlights as well. I used Meguiar’s Deep Crystal Carnauba Wax, but any good car wax will do.
The end result? Well, let’s just say if you squint, you might think I’ve got brand new headlights. While there’s a tiny bit of orange peel if you look closely, it’s not enough to bother with more sanding. Besides, it’s a truck, not a show car.
Wrap-Up
And there you have it, folks. With a little bit of effort and the right materials, you can make those foggy old headlights look almost new again. So if you’re tired of squinting through cloudy lenses, give this method a shot. Your truck will thank you, and maybe you’ll even get a few extra lumens for those nighttime drives.
Feel free to drop your questions, comments, or even your gripes in the comments below. I’m always up for a bit of shop talk. Thanks for watching, and see you next time!

If you want more specific information on Bullnose Ford Trucks, check out my YouTube Channel!
For more information on Bullnose Fords, you can check out the BullnoseFord SubReddit or Gary’s Garagemahal. Both are excellent resources.
As an Amazon Associate, I earn from qualifying purchases. If you see an Amazon link on my site, purchasing the item from Amazon using that link helps out the Channel.